Creating an Ubuntu ISO Image Using Cubic

This guide will help you create a customized Ubuntu operating system ISO image using the Cubic tool.
Installing Cubic
Cubic (Custom Ubuntu ISO Creator) is a tool for creating and customizing Ubuntu ISO images.
To install Cubic, follow these steps:
- Add the Cubic PPA repository to your system:
sudo add-apt-repository ppa:cubic-wizard/release
- Update the package list and install Cubic:
sudo apt update
sudo apt install cubic
Preparing to Create an ISO
- Download the official Ubuntu ISO image from the official website.
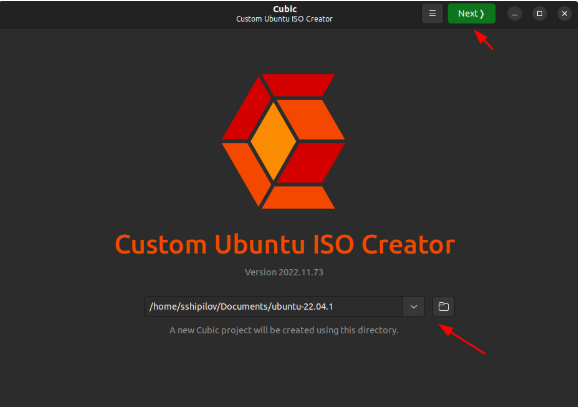
- Launch Cubic and select the working directory where the new ISO file will be stored.
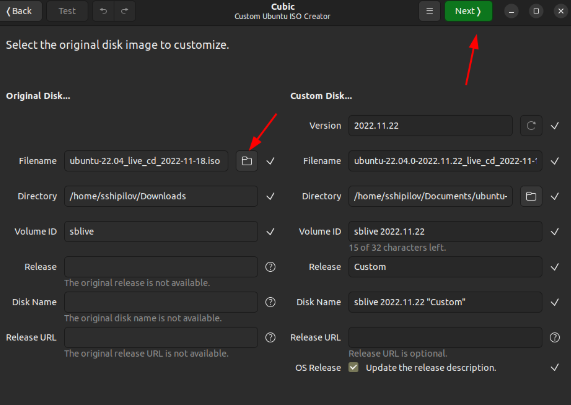
- Open the downloaded ISO image through Cubic’s interface.
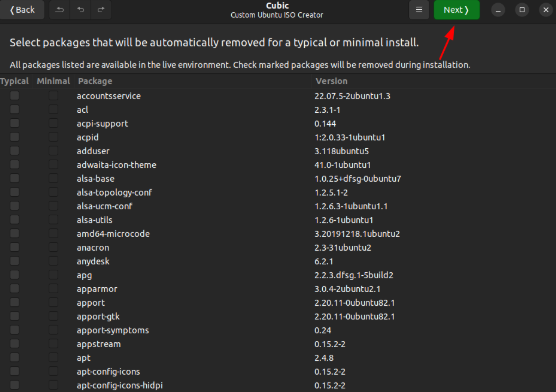
Customizing the ISO Image
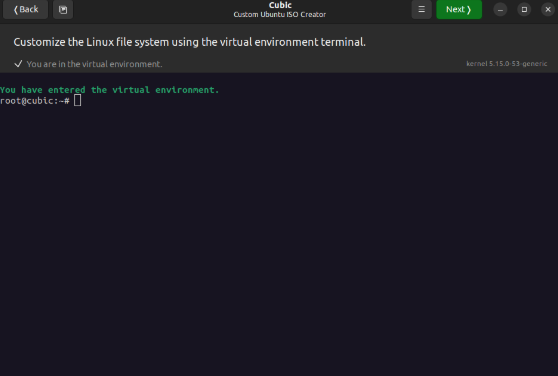
- On Cubic’s configuration screen, you can install additional software and perform pre-configuration of the system.
- All changes to the file system and installed packages will be displayed. After making all desired changes, proceed to the next step.
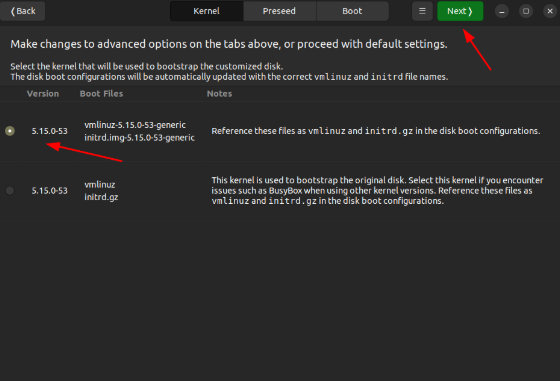
Selecting the Boot Kernel
- In Cubic, go to the Kernel tab.
- Choose the kernel that will be used by default when booting from your ISO.
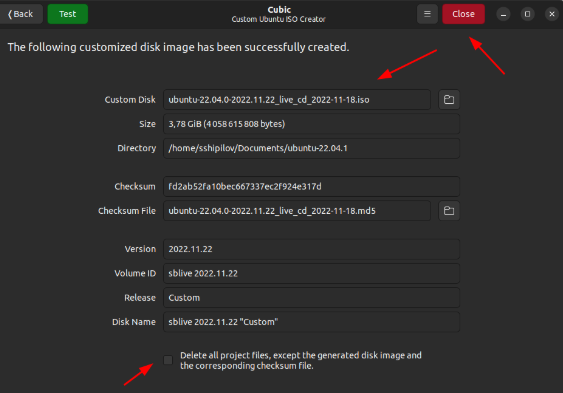
Saving and Building the ISO
- After configuring all parameters and selecting the kernel, proceed to the ISO creation step.
- Click the Build button to start the ISO creation process.
- Once the process is complete, you will find your customized ISO image in the chosen working directory.
Notes
- Make sure your system has enough space to create and store the ISO image.
- Customizing an ISO image requires an understanding of which packages and settings are needed for your goal.
Use this guide to create a customized Ubuntu ISO image tailored to your needs.
🚀 Explore more guides on our blog 👉 blog.1it.pro
📧 Contact us: admin@1it.pro for expert IT guidance.
🌐 Explore more: Visit 1it.pro for top-tier IT solutions.